


1. Tilled the whole backyard to get rid of all the patchy grass and leftover sand from previous owner
2. Layed out metal edging for our new grass island, planted St. Augustine sod
3. Got 15,000 lbs. of med. sized pea gravel (yes you heard me!) for the dry scaping
4. Gathered a bunch of brown sandstone stepping stones from a friend's land out in Llano (for free!)
5. Powerwashed the fence and porch.
6. Painted the fence a dark chocolate brown color (Valspar "Deep Earth" flat finish, Duramax for exterior)
7. Painted the porch to match the exterior trim (semi gloss finish for exterior)
8. Painted porch floor the same as the fence.
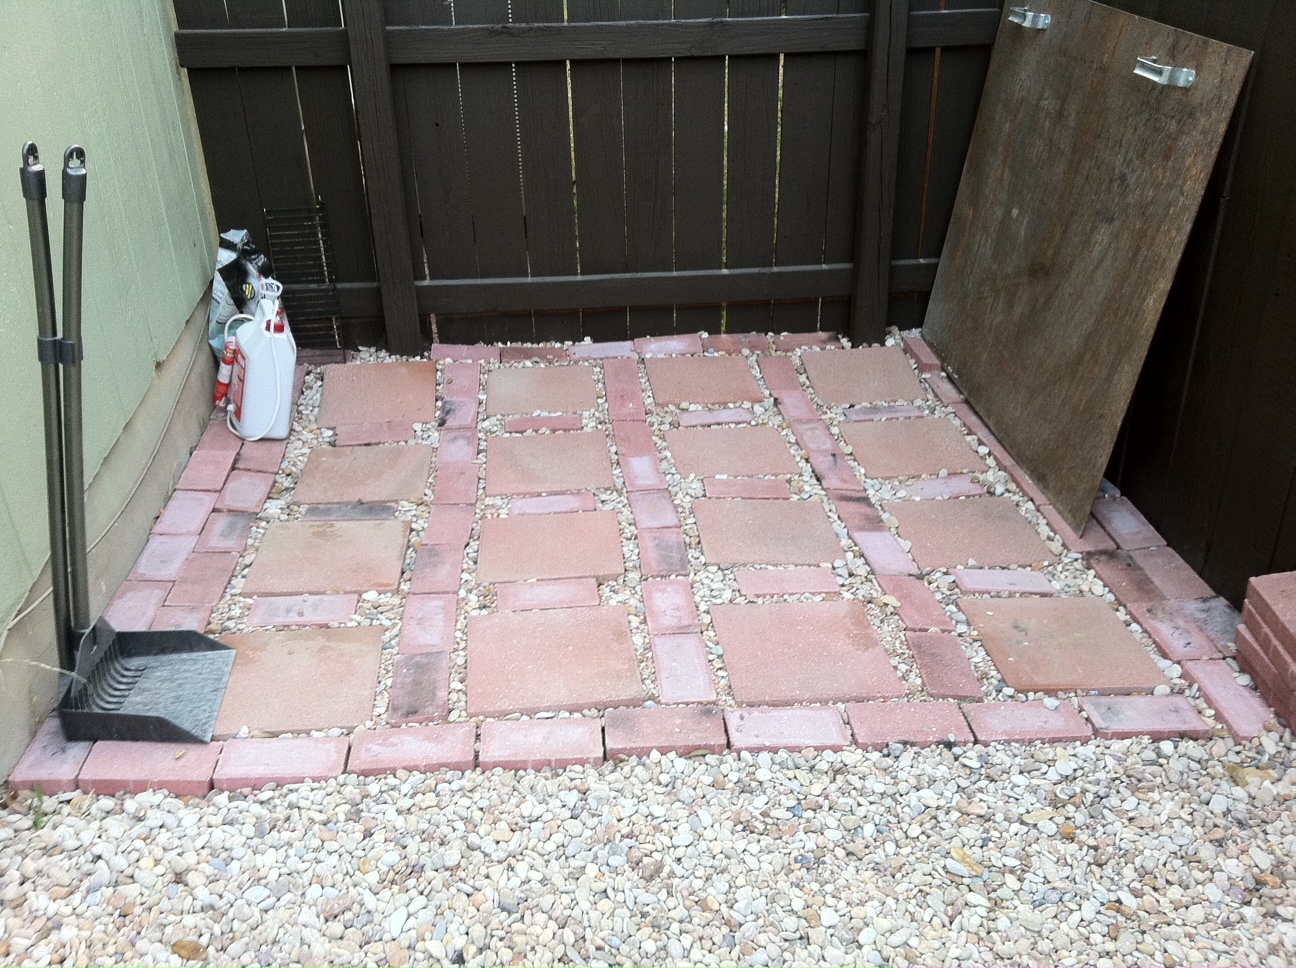
9. Created a storage area with the left over brick and stone squares in a cool design.
10. We did ALL the work :)
And the Afters!


I do have to give credit where credit is due. My husband and I knew we wanted some type of path with a planting area around the tree, and new grass. A friend of mine, Robby Lee, who has experience in Landscaping Design, stepped in and told us how to bring our ideas to the next level by creating a grass island with a dry bed surrounding it. It really breaks up the rectilinear shape of the backyard and adds some more organic lines. I loved the idea of the rocks surround the grass because it's easy maintenance and it gives a more modern feel to the landscaping.
Things to come:
1. Plants! Especially a Red Bud tree in the empty corner.
2. Furniture and outdoor fabrics, reupholster dining chairs
3. Outdoor lighting


beautiful!!!!! good job!
ReplyDeleteAmazing! I'm going to borrow some of these ideas for jeremy's yard! I'm glad you posted the before/after pictures.
ReplyDeleteWow! You guys did an amazing job! Looks so good!
ReplyDeleteAwesome! I'm so proud of you guys!! Looks amazing. David and I will have to get some advice when it's our turn :)
ReplyDeleteThat looks fantastic!! Saw the post from Merrick on FB. What an amazing difference. Robby Lee is so super helpful too. He did some work at my daughter's preschool. Looks great! Congrats you guys, looks worth the work!
ReplyDelete-Kaci Myrick
Love it! It looks great!
ReplyDeleteSuch a transformation! Can't wait to come down and zen out! Mamma
ReplyDeleteImpressive work! That looks very cosy! Rattan garden furniture pieces will look good in there too!
ReplyDelete